
Pre-Settlement Inspection Guide for Buyers
Get a Quote
It's quick and easy to get a quote.
Simply leave us your name, phone number and what you need quoted and one of our expert conveyancing solicitors will call you straight back.

Importance of a Pre-Settlement Inspection
A pre-settlement inspection is the final opportunity for buyers to inspect a property before ownership officially transfers. This ensures the property is in the agreed-upon condition, with no unexpected damages or missing inclusions.

The pre-settlement inspection acts as a safeguard for buyers like you to confirm that the property aligns with the contract terms and that all agreed-upon repairs have been completed. By identifying last-minute issues, you address problems with the seller before settlement, which reduces the risk of financial or legal complication.
It is your buyer’s right to inspect the property before settlement. While it does not affect the legal transfer itself, it provides an opportunity to identify and resolve any problems that could impact your decision or financial commitments.
While not legally required, the pre-settlement inspection is highly recommended to avoid problems like undisclosed damage, incomplete repairs, or missing fixtures. While not mandatory, you should always take advantage of this right to protect your investment.
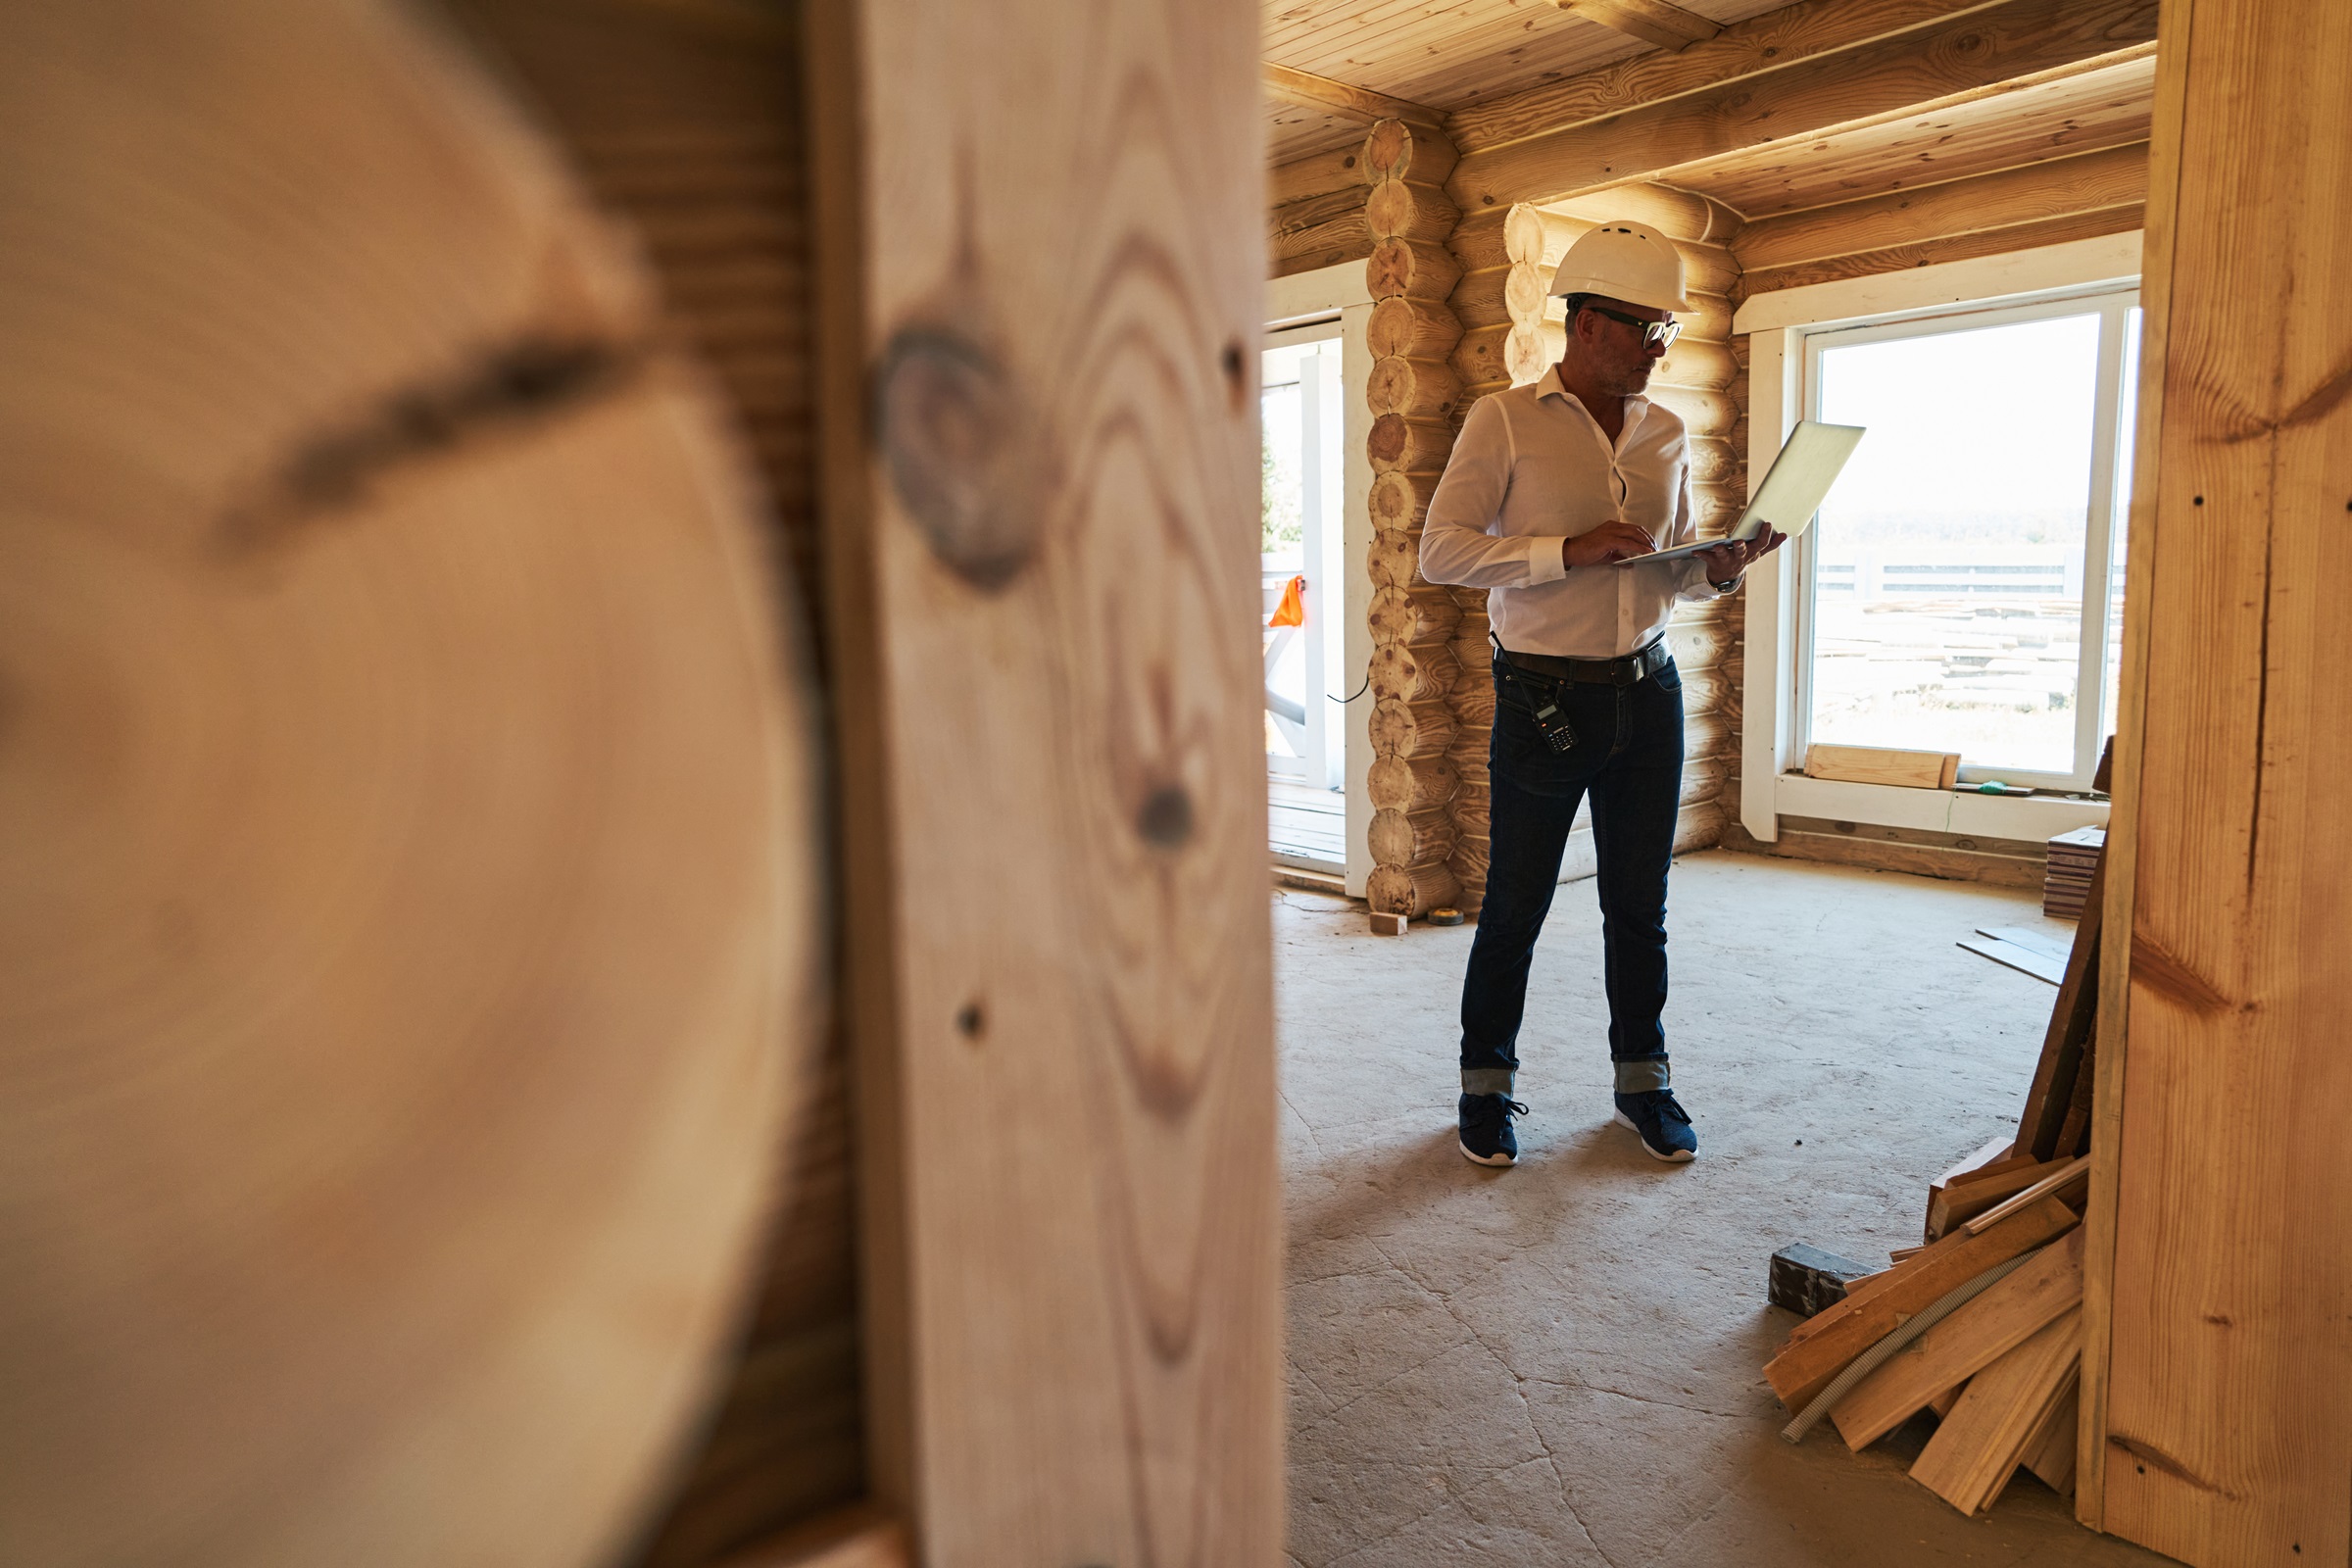
What Happens During a Pre-Settlement Inspection?
During a pre-settlement inspection, you should carefully examine every aspect of the property to ensure it meets the agreed-upon conditions stated in the contract.
Start by checking for visible damages or changes since signing the contract. Even minor issues like cracked tiles, scuffed walls, or water damage signal deeper problems that need attention.
Next, verify that any agreed-upon repairs have been completed to an acceptable standard. If the seller promised to fix a plumbing issue or replace a faulty appliance, confirm that the work has been done properly. Some sellers may attempt to cut corners on repairs to save costs.

Another part of the inspection is to ensure that all fixtures, fittings, and appliances included in the sale are in working order. This includes testing lights, ceiling fans, built-in kitchen appliances, and heating and cooling systems. Remember to check that all doors, windows, and locks function correctly to avoid security risks.
Finally, test essential utilities such as electricity, water, gas, and heating to confirm they are operational. If any of these services are disconnected or faulty, they become inconveniences for you after settlement.
The property should be inspected for overall cleanliness and trash removal. If the seller has left behind unwanted items or has not cleaned the property, negotiate further actions before finalising the purchase.
Skipping a pre-settlement inspection is risky because buyers may inherit unresolved problems, which leads to additional repair costs and legal disputes.
Pre-Settlement Inspection Rights in Queensland
You are legally entitled to a pre-settlement inspection before finalising your purchase. This allows you to confirm the property’s condition and avoid any last-minute surprises.
Arrange the inspection through your real estate agent or conveyancer, typically within the week leading up to settlement. The timing is crucial to identify and address any issues while there is still an opportunity to negotiate with the seller.

If problems arise during the inspection, you have several options. Request the seller to make repairs before settlement, negotiate financial compensation, or, in extreme cases, seek legal advice to address significant breaches of the contract. Communicate concerns promptly with a conveyancer to ensure a fair resolution.
Pre-settlement inspection with tenants
If the property is tenanted at the time of inspection, additional considerations apply. You must ensure that the inspection is conducted in accordance with tenancy laws, which typically require providing tenants with adequate notice before entering the property. You cannot legally enter a property without the owner’s permission before the sale is finalised.
When inspecting a tenanted property, see if any damage has occurred beyond normal wear and tear. If tenants have caused significant damage, discuss potential solutions with the seller or property manager, and if necessary, request repairs before settlement.
Confirm the terms of the existing lease agreement. If you are planning to move in after settlement, you must be aware of the tenancy conditions and if the current tenants are required to vacate before you take possession of the property.
Pre-Settlement Red Flags
You should be on the lookout for common red flags during the inspection, as these could indicate potential complications after settlement. One of the most concerning issues is undisclosed damages or missing items that were supposed to be included in the sale. For example, if built-in appliances or specific light fixtures were listed in the contract but are missing, this needs to be addressed immediately, no matter how small the issue may seem.
Another warning sign is incomplete or poor-quality repairs. If the seller agreed to fix a leaking roof or replace broken tiles, but the work has been done poorly or not at all, raise this issue before finalising the purchase. Utility or compliance issues like disconnected electricity, plumbing faults, or non-compliant renovations should also be identified and dealt with to avoid costly repairs later.
If the sellers have removed items they were meant to leave behind or failed to meet contractual obligations seek legal advice before settlement.
Final Pre-Settlement Checklist
A thorough inspection helps ensure everything is as expected before you take ownership and prevents costly surprises later. Here is a step-by-step guide to follow for the pre-settlement inspection.
- Schedule the inspection: Arrange a time with the seller or agent before settlement. Bring your own witness like your conveyancer to verify your findings.
- Bring a copy of the contract: Use this to verify included fixtures and agreed repairs
- Check for new damage: Look for any damage that was not present at contract signing. If tenanted, ensure tenants have not caused damage.
- Verify agreed repairs: Ensure the seller has completed any promised repairs, and that they are done properly.
- Test all fixtures, appliances, and utilities: Check lights, taps, heating/cooling, and built-in appliances. Confirm that electricity, water, and gas are connected and functional.
- Inspect doors and windows: Make sure your doors and windows open, close, and lock properly.
- Check for trash removal: The property should be in a clean state and all unwanted items disposed properly.
- Inspect outdoor areas: Check fences, gardens, and exterior features for issues.
- Document any issues: Take photos and notes of anything concerning.
- Report problems promptly: Inform your conveyancer or lawyer to address issues before settlement.
If you find damage or deterioration beyond what was present at your initial inspection, notify your conveyancer immediately.
Smooth and Hassle-Free Settlement
A thorough pre-settlement inspection helps guarantee a smooth property handover. By conducting a careful review of the property before settlement, you avoid costly surprises and ensure your new home meets your expectations.
For a stress-free experience, take the pre-settlement inspection process seriously, communicate any concerns promptly, and seek legal assistance if necessary. Call us to guide you through your house settlement process.